Project Description
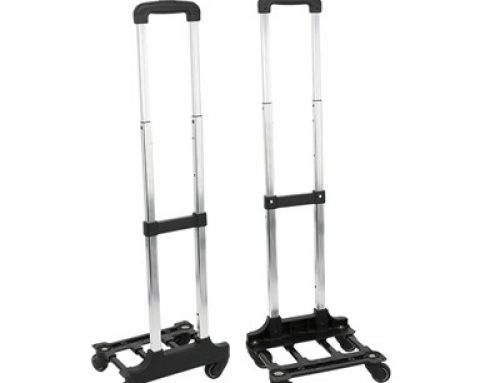
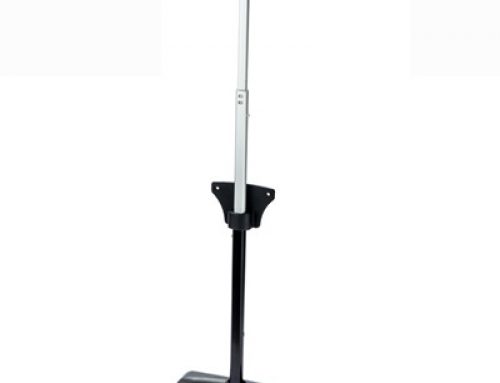
Product Description:
• Material : Aluminum tube + Plastic
• Section : 3 sections
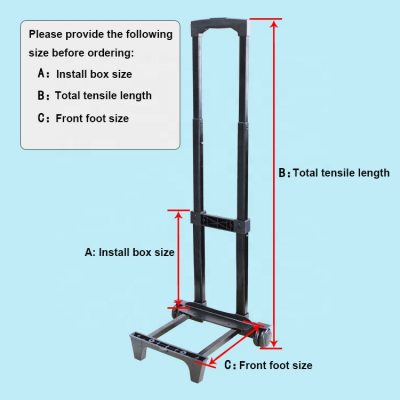
• Case height :30cm (a ) or Customized
• Total length:89.5cm ( b ) or Customized
• Front foot frame size:24.5cm ( c ) or Customized
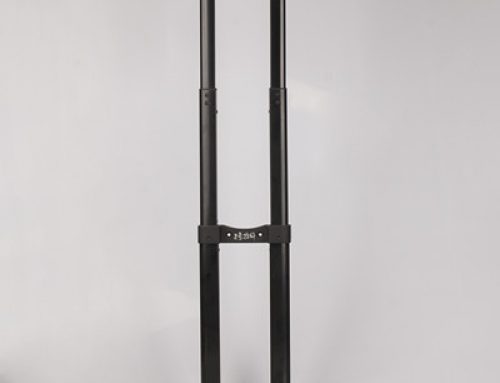
• Center distance:145mm
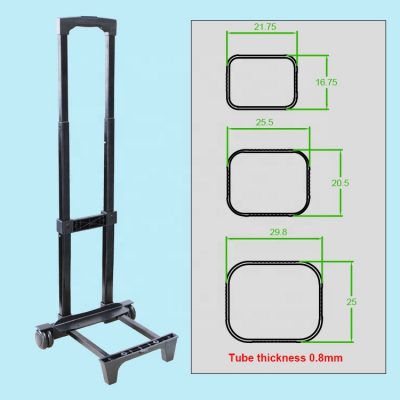
• Pipe Thickness:0.8mm
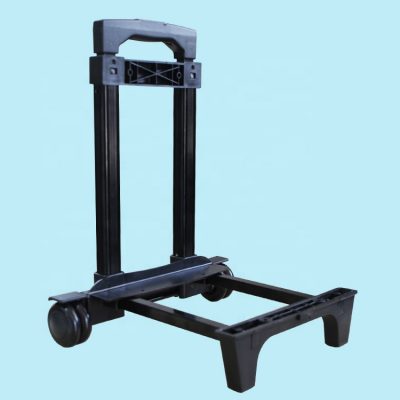
• Wheels :4 wheels
• Wheel diameter :6.0cm
• The first section tube size : 29.8*25mm
• The second section tube size :25.5*20.5mm
• The third section tube size :21.75*16.75mm
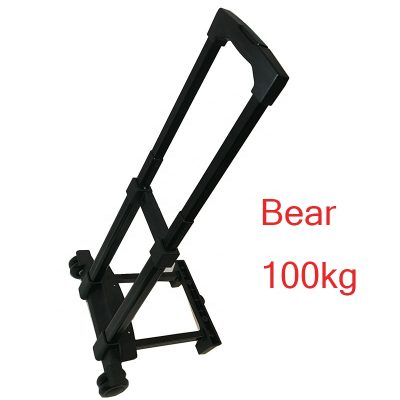
• Load bearing : 100 kg
• Weight :1.2kg
Product Feature:
The lever of our trolley case will break if the lever is used for a long time. So how to deal with the case when the case is okay but the situation is more special? So now let’s teach you an urgent way to deal with it, and you can continue to use it.
Tools/Materials:
Bricks, nails (sharp objects, small holes can be punched)
Broken tie rod of the box
Method/step:
The reason why the trolley case broke is because of this small mechanism. After I opened it, I found out that there was a small plastic mechanism inside. It controlled the expansion and contraction of our pull rod. The principle is very simple. Press it to open the buckle and expand it. You can remove it. I’ll know it after opening it. This is why the tie rod breaks.
Next for maintenance, remove the pull rod, remove the telescopic rod and the protection rod, take out the two iron wires of the control mechanism in the pull rod, and then restore the pull rod to its original shape.
Punch, the small hole of the tie rod is used to control the buckle, then we take out the broken buckle and throw it away, download the telescopic rod and the protective rod, and then punch the hole, punch the hole of the telescopic rod Align with the first snap hole pair at the bottom of the armrest, on both sides. The hole punched on the top of the protection rod is aligned with the previous small hole.
Pass the removed iron wires through the punched holes one by one, as the obstruction point of the tie rod and the protection rod as shown in the figure
Then you get a fixed tie rod, and the telescopic rod can’t stretch. In this way, the originally broken tie rod is made into a fixed good tie rod.